
4 Easy Steps to Build and Manage an AI Chatbot with Aerpex
Step 1: Define Your Chatbot’s Goal 🎯
Start by identifying what your chatbot should do: answer FAQs, collect leads, book appointments, or assist users.
📌 Clear objectives help your AI agent perform better and improve user experience.
Step 2: Create and Train Your AI Agent 🧠
- Create your agent: Go to your Aerpex dashboard, click Create Agent, and name it.
- Train your agent: Upload your content (PDFs, DOCs, text) or provide website URLs for the bot to learn from.
🧠 The better the data, the smarter the agent becomes.
Step 3: Customize and Deploy the Chat Widget 🎨
- Style the widget: Choose colors, avatar, and welcome message.
- Install it: Use the embed code to place the widget on your site, or the social media integration link.
🔌 The widget appears instantly and starts helping visitors.
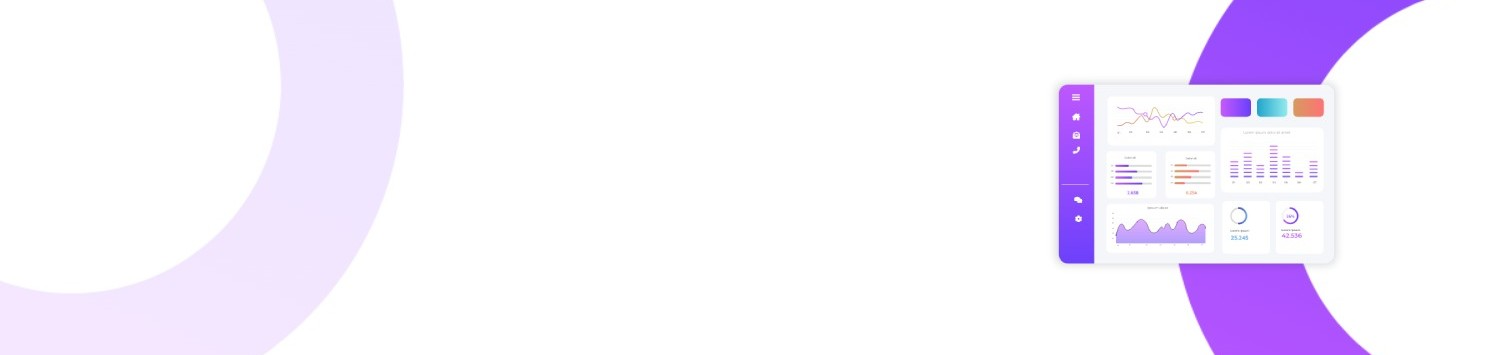
Step 4: Monitor and Improve Your Agent 📊
- Use analytics: Check session stats, unanswered questions, and performance insights.
- Improve continuously: Add more content, refine answers, or create handoff rules.
📈 Your bot gets smarter with each interaction.
✅ Plus Tips:
- Enable live agent fallback for complex inquiries.
- Connect with your CRM or booking tools using integrations.
- Create multiple agents for different departments or landing pages.